With the increasing digitization, we’re slowly shifting to online tools to go about our daily tasks. And while tools like Google Meet and Slack have become the need for businesses, Google Classroom has become the need for teachers. If you’re still figuring it out, here’s how to create a Google Classroom.

Google Classroom has been designed using the needs of a teacher in mind. Using the options available here, teachers can chat with students even while on call, give assignments and grades, and make announcements to the whole class. Additionally, parents can see the student’s progress, assignments, etc. in one place.
But how do you create a Google Classroom? And can it be done using the mobile app as well? Read on to find out.
Note: Ensure you’re signed into your school teacher account before starting.
How to Make a Google Classroom Using Web Browser
Using any web browser, teachers can now set up a class, invite students and even customize it. This way you can make a Google Classroom according to your preferences. Follow the below steps to do it.
Set Up Google Classroom
Step 1: Open Google Classroom on any browser using the below link.
Open Google Classroom
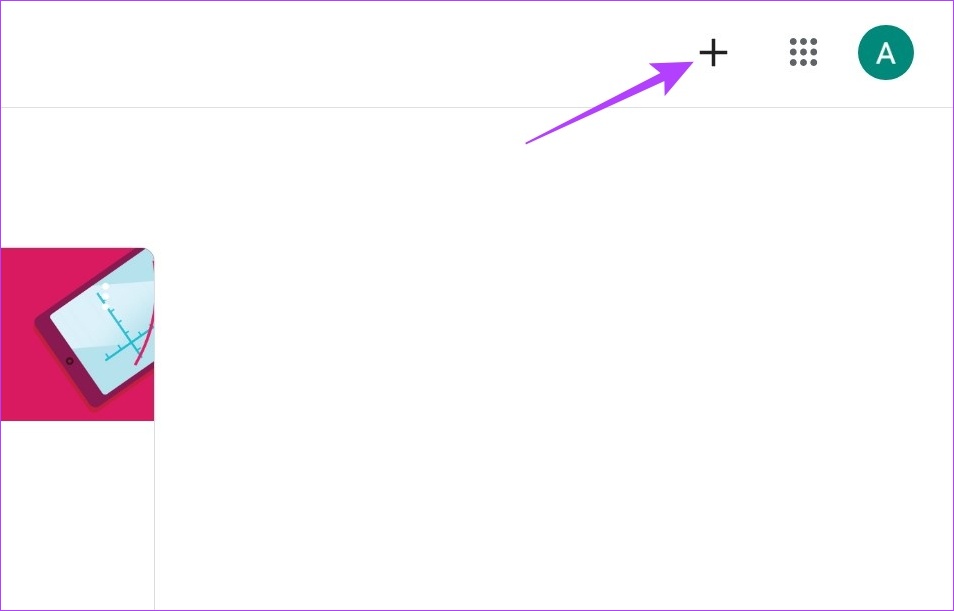
Step 2: Then, click on the + icon in the top-right corner.
Step 3: Here, click on Create class.

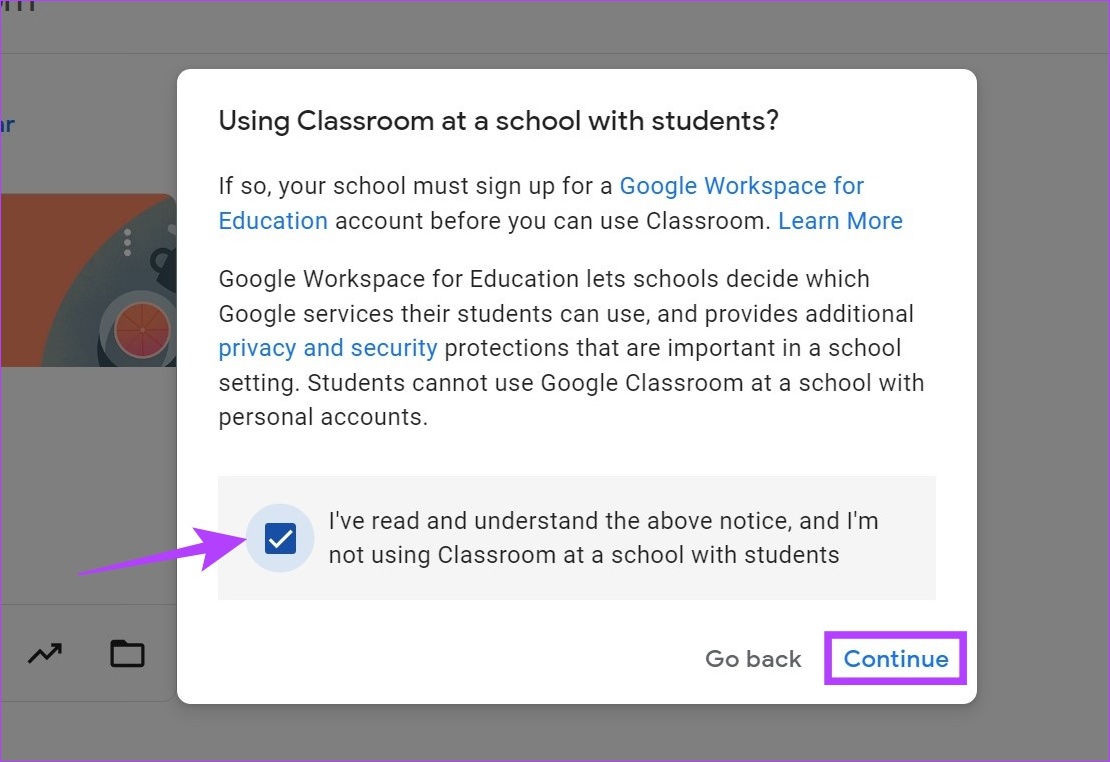
Now, if you’re using Google Classroom without a registered school account, you might get the ‘Using Classroom at a school with students?’ pop-up.
Step 4: Check the box for ‘I’ve read and understand the above notice, and I’m not using Classroom at a school with students’.
Step 5: Then, click on Continue.
Step 6: In the Create class window, fill in the Class name, Subject, Section, and Room details. When filling in the Subject, you can also select one of the pre-filled options.
Step 7: Once all the details have been filled in, click on Create.

This will set up Google Classroom.
How to Add Students to Google Classroom
Now that your classroom is all set, it is time to invite students to join the class. You can do so using two methods. Read the next few sections to explore both.
Step 1: Open Google Classroom and go to the class you want to add students to.
Step 2: Here, click on the three-dot icon.
Step 3: Then, click on ‘Copy invite link’.
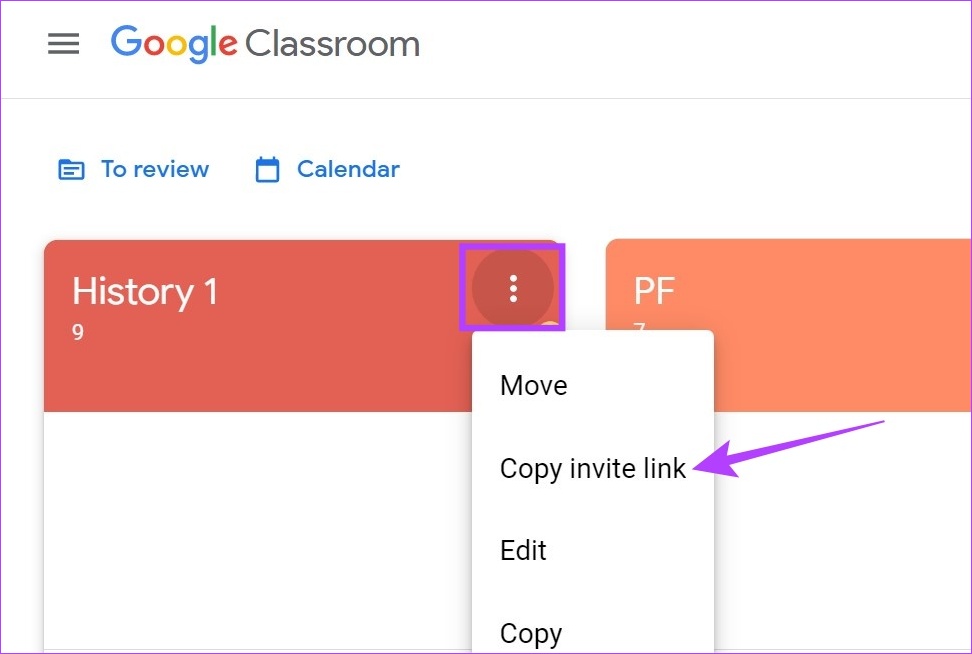
You can now share this invite link with students. By using it, they can join the class.
Additionally, you can also individually add students to Google Classroom by emailing them the class joining link. This can be helpful if you’re teaching a limited number of students. Here’s how to do it.
Step 1: Open Google Classroom and go to the class you want to add students to.
Step 2: Click on the class you want to add students to.

Step 3: From the menu options, click on People.
Step 4: Go to the Students section and click on the add students icon.
Tip: You can even add additional teachers to the classroom by clicking on the invite icon in the Teachers section.

Step 5: In the search bar, type the emails, or if previously used, names of the students you wish to add to the class.
Step 6: Once all the students have been added, click on Invite.
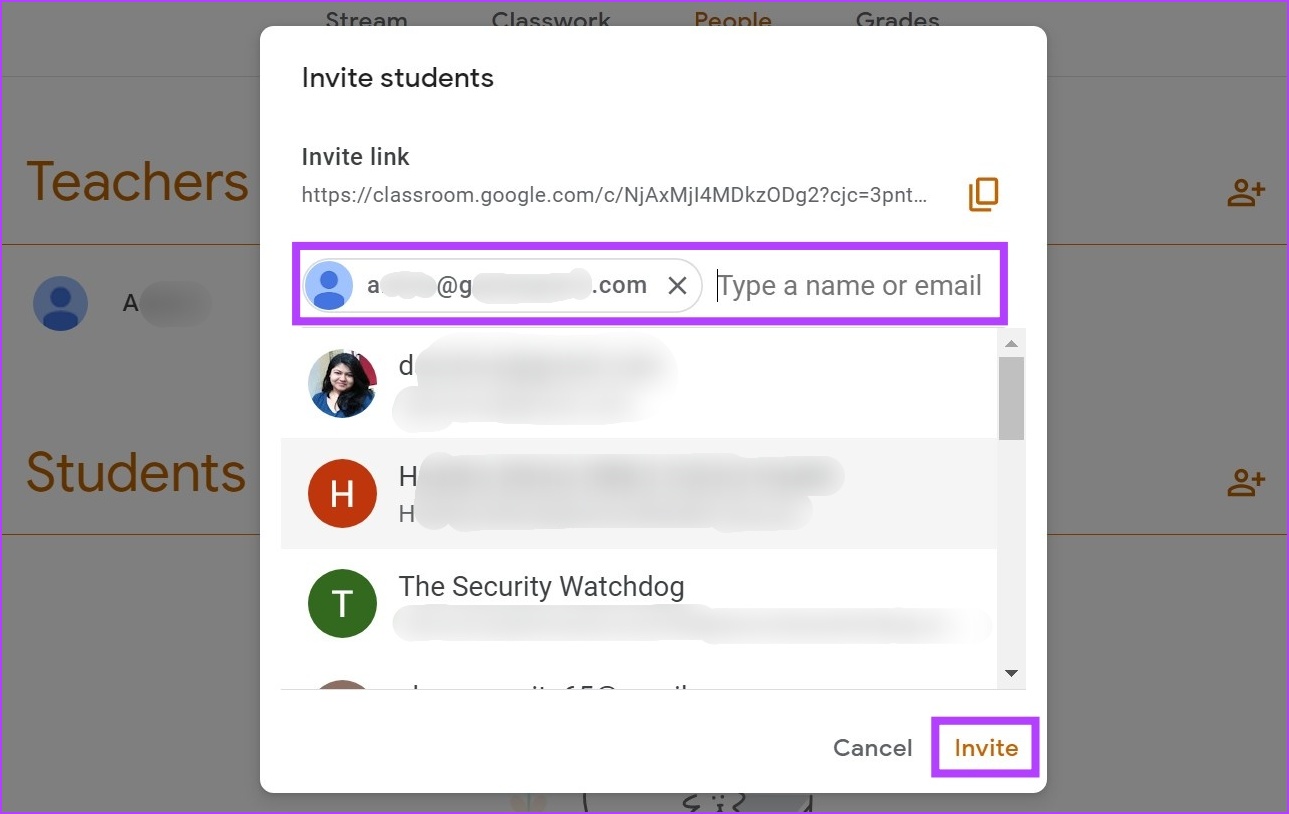
This will send the joining link to the added students via email. Students can click on the link to join the class. Apart from this, students can also use the unique Class code to join the classroom.
Edit a Google Classroom
You also have the option of editing the classroom details even after it has been created. This can come in handy if you want to add or change certain details pertaining to the class. Follow the below steps to do it.
Step 1: Open Google Classroom.
Step 2: Click on the classroom you want to edit.
Step 3: If you want to edit the class header, click on Customize.

Step 4: Here, you can either select a photo from Google Classroom or upload an image of your choice. You can even change the theme color.
Step 5: Once done, click on Save.

This will change the theme of your Google Classroom. If you want to make changes to your Google Classroom information, follow the below steps.
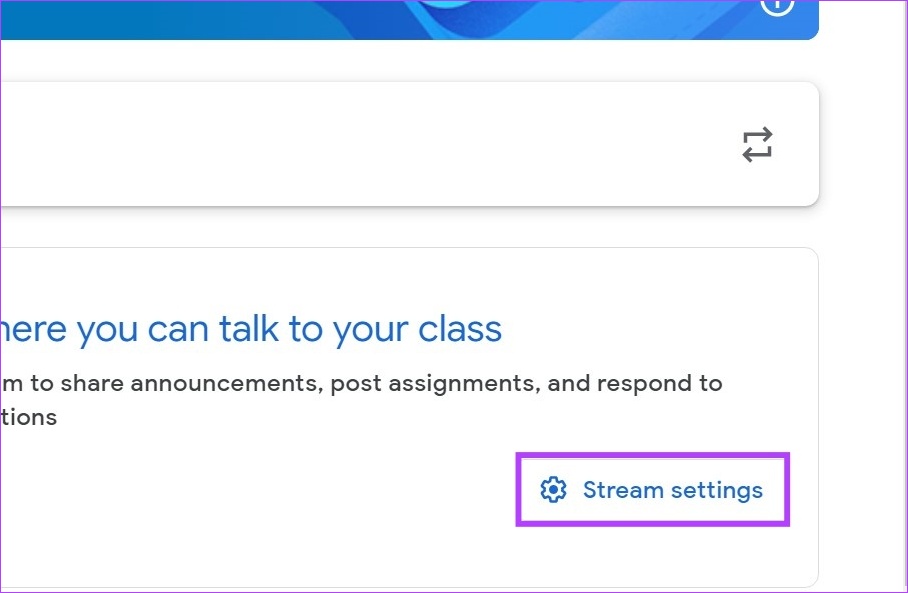
Step 6: In the bottom-right corner, click on Stream settings.
Step 7: Here, click on the Stream drop-down and select any option to change comment settings in your classroom.

Step 8: You can also click on the ‘Classwork on the Stream’ drop-down to change notification settings for your classroom.

Step 9: Turn on the toggle for ‘Show deleted items’. This will allow teachers to view any deleted items in the stream.
Note: You can also scroll up to edit other details like the class information and invite link details.

Step 10: Once done, click on Save.
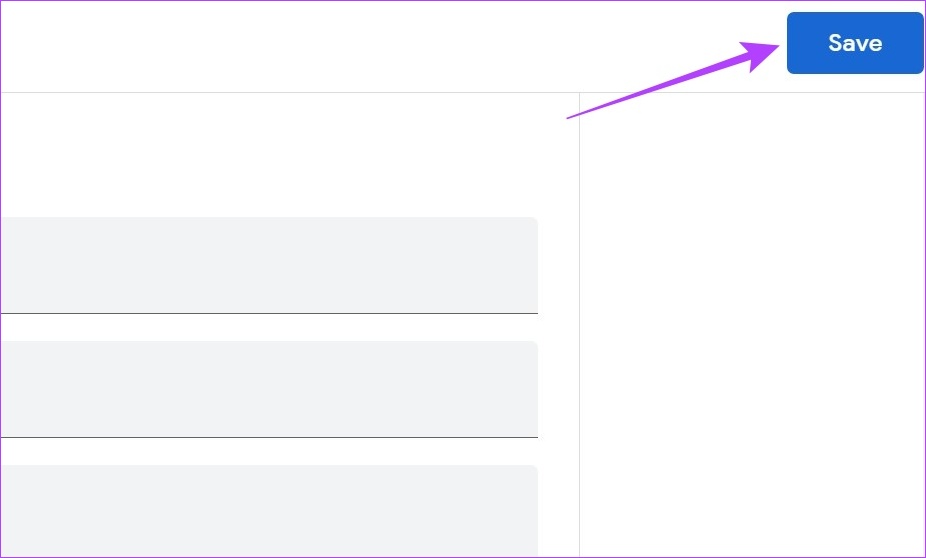
This will save all the changes made.
Set Up Google Classroom Using the Android and iPhone App
Just like using Google Classroom on a web browser, you can set up a Google Classroom using the mobile app as well. This will allow you to create a class, invite students and, if required, edit classroom details as well. Here’s how.
Create a Google Classroom
Step 1: Open the Google Classroom mobile app.
Open Google Classroom iOS app
Open Google Classroom Android app
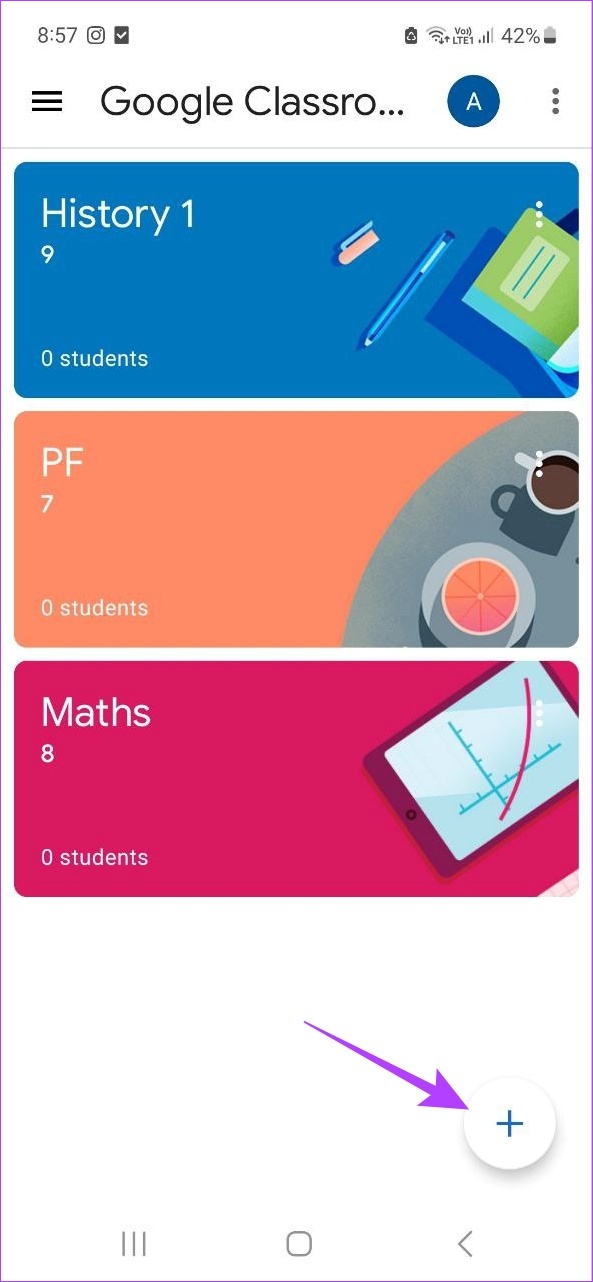
Step 2: Here, tap on the + icon.
Step 3: Then, tap on Create class.

Step 4: Add the necessary details regarding the class.
Step 5: Then, tap on Create.

This will make a Google Classroom.
Set Up Invite Link for Students
Once the classroom has been set up, use the below steps to send an invite link to students.
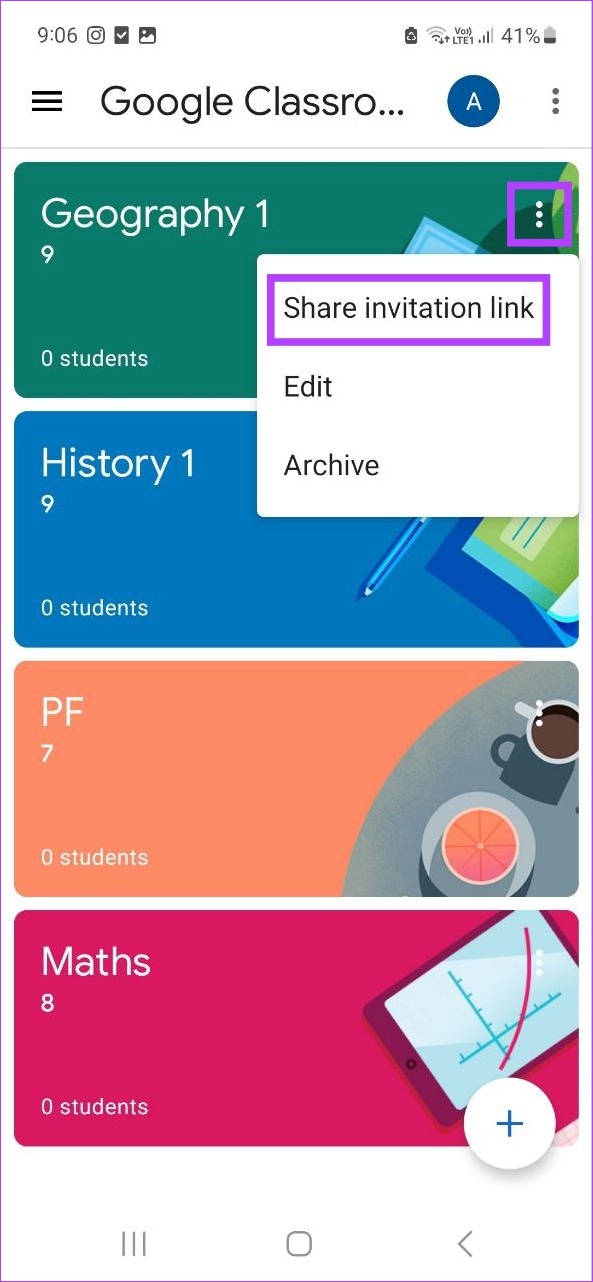
Step 1: Open the Google Classroom mobile app and tap on the three-dot icon of the relevant classroom.
Step 2: Then, tap on ‘Share invitation link’.
Step 3: This will open the share window. Here you can either copy the link to share it independently or share it using one of the options below.

Apart from this, you can also email the invite link to students using the People section. Here’s how.
Step 4: Tap on the relevant class.

Step 5: Then, tap on People.
Step 6: Under the Students section, tap on Invite.
Tip: You can also add additional teachers to the classroom by tapping on the add icon in the Teachers section.
Step 7: Here, either search the students by name or manually enter their email ID.
Step 8: Once all the students have been added, tap on Invite.


This will send an invite link to all the added students via email. Additionally, students can also use the unique Class code to join a class in Google Classroom.
Change Google Classroom Settings
Follow the below steps to edit a Google Classroom even after it has already been created.
Step 1: In the Google Classroom mobile app, tap on the relevant class.
Step 2: Then, tap on the cogwheel icon.

Step 3: Under the Above section, tap on the relevant box to edit the class details.

Step 4: Once done, scroll down to the General section.
Step 5: Here, tap on the three-dot icon in front of ‘Student invitation settings’ to change invitation code settings.
Note: Tapping on the ‘Reset invitation codes’ option will change the invitation link as well. If selected, you will need to resend the link to invite students to join the class.


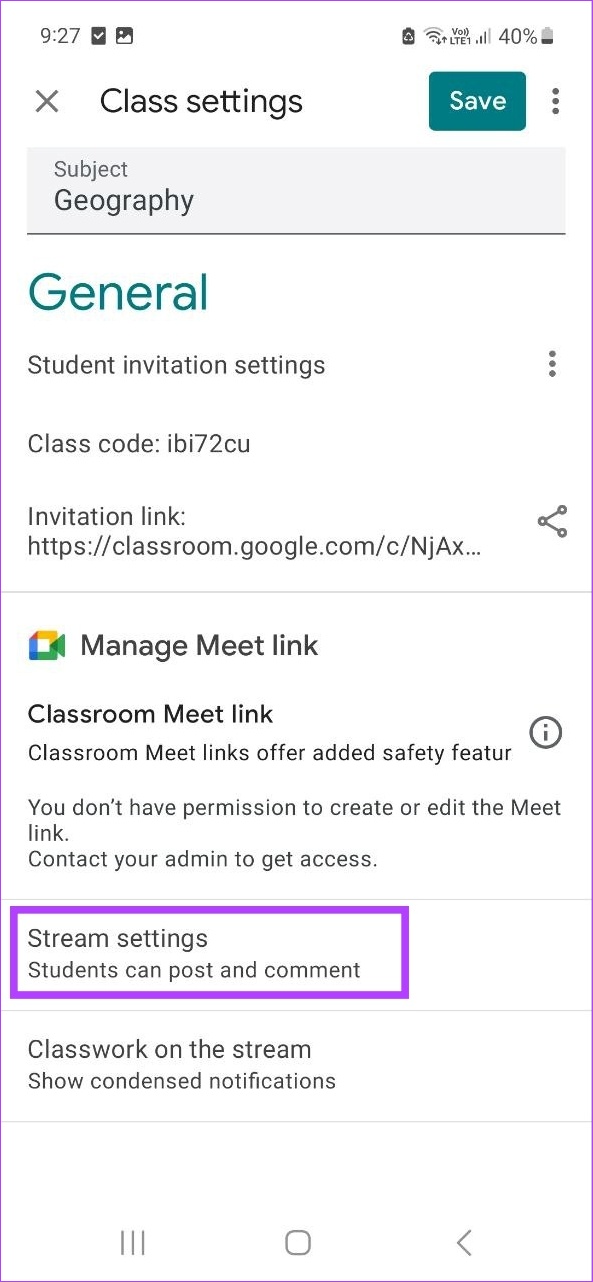
Step 6: Tap on Stream settings and select the relevant comment setting for your stream.

Step 7: You can also tap on the ‘Classwork on the stream’ option and then select the relevant notification setting for your stream.


Step 8: Once all the changes have been made, tap on Save.

This will save all the changes made to the Google Classroom settings.
Frequently Asked Questions
Yes, you can create classes for free in Google Classroom as long as you’re operating on a teacher account.
No, you can join a class in Google Classroom even with a non-Google account.
Yes, you can make a Google Classroom without a school. All you need to do is sign up with a Teacher account in Google Classroom to get started.
Host Your Classes
With more and more students shifting to online classes, Google Classroom seems to have become the de facto choice for teachers. With that in mind, we hope that this article helped to get a better understanding of how to create a Google Classroom. Additionally, you can also use Google Docs templates to create customized teaching docs to share in the classroom.